Seamlessly Switch from VS Code to Cursor AI
The screenshot you are seeing in this article is that of a well-known Mario game that I managed to build in ~2 hours using Cursor AI. I did not write a single line of code. I wrote less than 10 prompts to build the entire project and the AI model in Cursor AI took care of the rest.
In this video, I am going to share with you step-by-step how I went ahead to build the Mario game.
Installation and Setup
Let's create a new directory named super_mario and a corresponding conda environment for Python. Let's name the environment super-mario.
We then need to install Cursor AI. It can be downloaded from here and installed like any other app on the Mac. I am sure the installation is quite simple on Mac or Linux too.
Once installed, we can see the below screen if we open Cursor:

We can now click on Open Project and open the directory we just created. Once opened, we need to configure the virtual environment for the project to the conda environment we created. For this, click shift+cmd+P. It pops up the Python interpreter in which we should choose super-mario as the environment. The setup exactly resembles setting up any Python project in VS Code as Cursor is a fork of the VS Code IDE empowered with AI capabilities.
We are all set now to do some AI coding!
Quick Cursor Walkthrough
You may skip this section and move to the prompting section if you know the basics of Cursor IDE.
All the shortcuts outlined here are for the Mac. I am sure cmd should be replaced with ctrl in Windows, though I haven’t tried it myself.
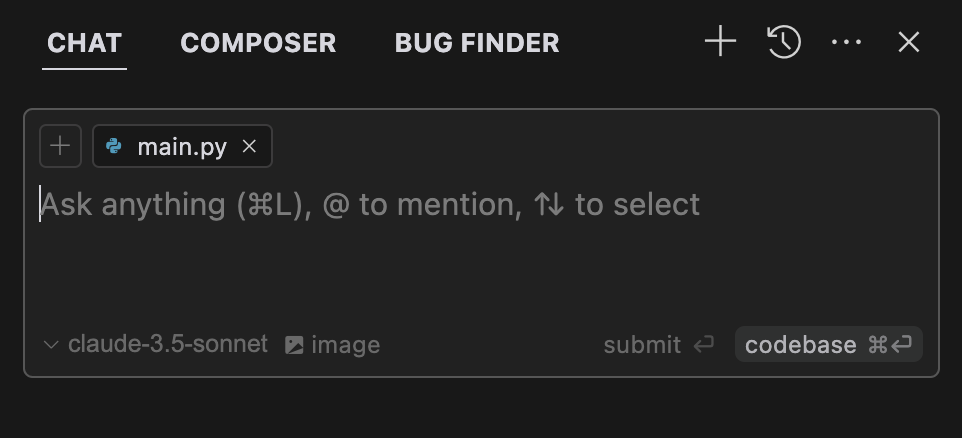
In Cursor, alt+cmd+B, toggles the AI panel (shown above). We have 3 main features.
- Chat (
cmd+L). We can chat like with a normal LLM to clarify our doubts. For example, details about the documentation of a Python framework - Composer (
cmd+I). Whenever we want to create a whole new feature or make large changes to say multiple files, we need to use composer. We will use it extensively in the next section. - Bug Finder. As the name suggests, we can provide context to find and fix bugs in our existing project.
In all of the above, we can provide context by providing files by pressing the + button. (main.py shown in the figure above).
cmd+K helps with inline development. In the middle of any file, we can press cmd+K, provide a prompt, and watch AI write code for us. For example, in the middle of a file, you can press cmd+K and ask, “Write a function to count the number of words in a sentence”.
That's all we need to know about Cursor IDE on top of your VS Code knowledge!
Prompting — Step-by-Step
Let's look into the different prompts I used to build the project.
Outline of the project
As we only did the setup, we don’t have any files written for the project. So, let's start by asking Cursor AI to create the initial files. As mentioned before, we need to use the Composer tab to create or edit multiple files and start a new project. Here is my prompt:
Write code in Python using the fast API framework to play the Mario game. The game should have an UI. I should be able to play the game using my keyboard.
This created the project with the below structure:
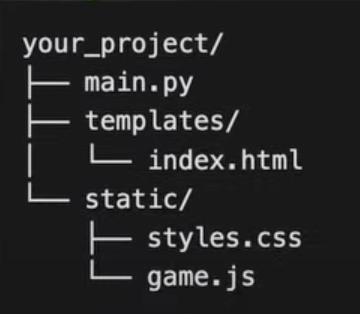
It also gave me the command to install the dependencies which is,
pip install fastapi uvicorn websockets
It gave the below command to render and view the UI:
uvicorn main:app --reload
And the UI looked like below:
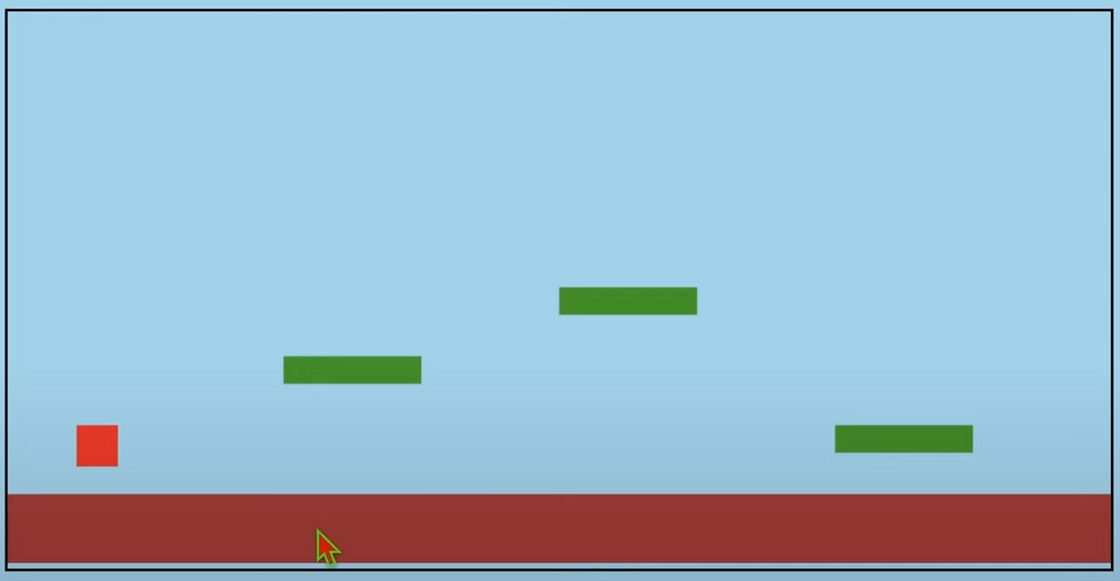
We clearly do not have any sprites of Mario or its enemies. So it's just displaying a red square in place of Mario.
Including sprites
As the next prompt, I asked it to include the sprites. I prompted,
Make code changes to include sprites, enemies, coins and power-ups.
It did give instructions to place the sprites under the static/imagesfolder. So I downloaded Mario, goomba, and mushroom images from google images and placed them there.
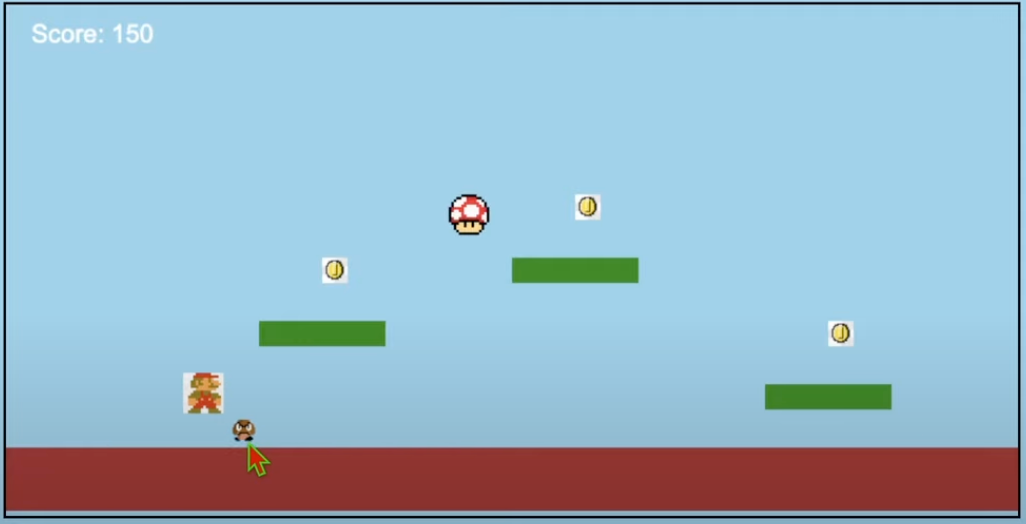
The UI now looks like this:
Including gravity
One of the problems I found was that Mario was not falling down naturally. In other words, the game was missing gravity. So I promoted,
Introduce gravity so that Mario falls freely when moved around with he arrow keys
It said that gravity is already in the game but still, it went ahead and made code changes to improve gravity to make it look seamless and engaging for the user. At this stage, again I pretended like I do not know any coding and clicked on “Accept All” to accept the code changes.
Including tunnels
One of the main components still missing from the UI is the tunnels we find all the time in the Mario game. So, I prompted,
Add tunnels in the game for mario to jump over and enter. I will provide the sprites for the tunnel.
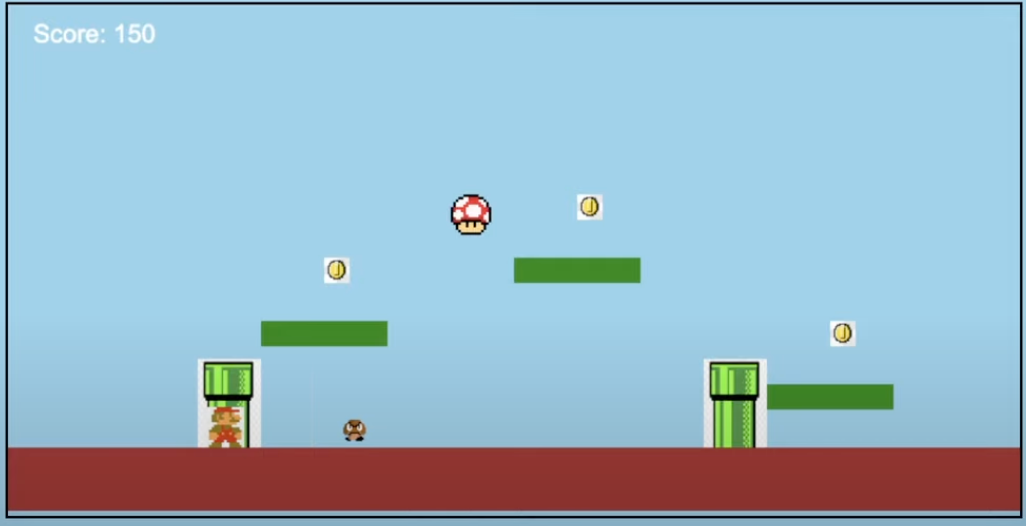
It did make the code changes for the tunnel. I added the sprite under the static folder. The UI looked like this,
One of the problems with the above is that the tunnel is not blocking Mario from entering. So let's prompt to include those changes in the logic:
Mario is able to pass through the tunnel. It should be allowed only to jump over it.
That did the trick and fixed the problem without any bugs.
Improvements like next level and scoring
As I played the game, I wasn’t able to complete a level and move on to the next. Plus, there was no scoring system in place. So to fix that, I prompted:
Include different levels in the game and make it more challenging
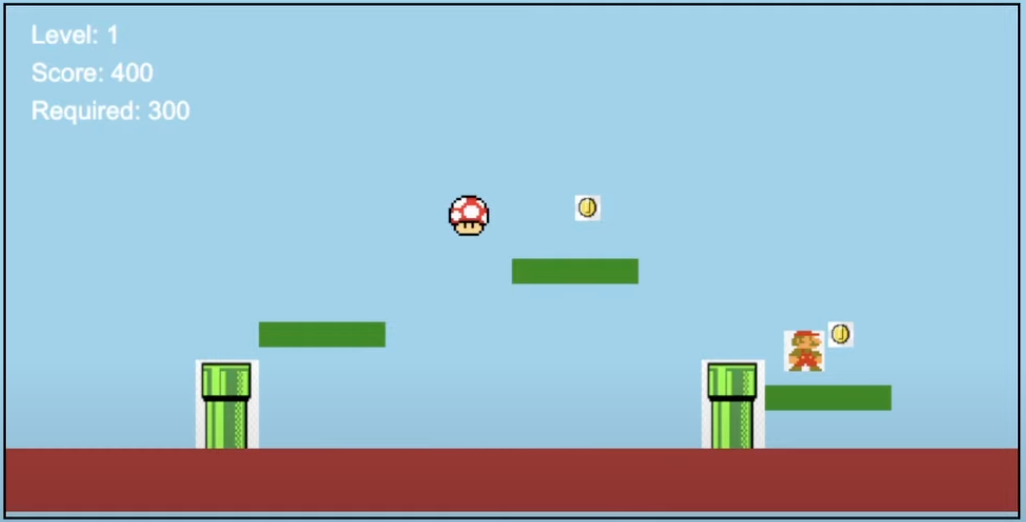
That did the trick and it introduced levels and scoring systems.
Aesthetics and fixing UI
Though the essential functionalities are in place, the game looks far from a professional one. Let's try to improve the UI. For this, I decided to take a screenshot of the Mario game from Google Images and feed it directly into the prompt. Below is the screenshot I took,
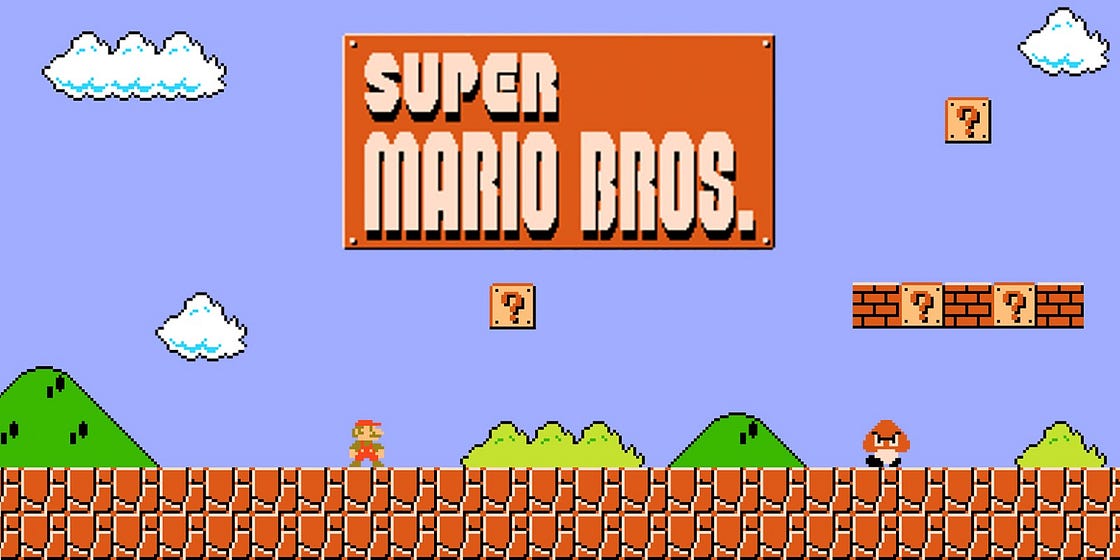
I then prompted,
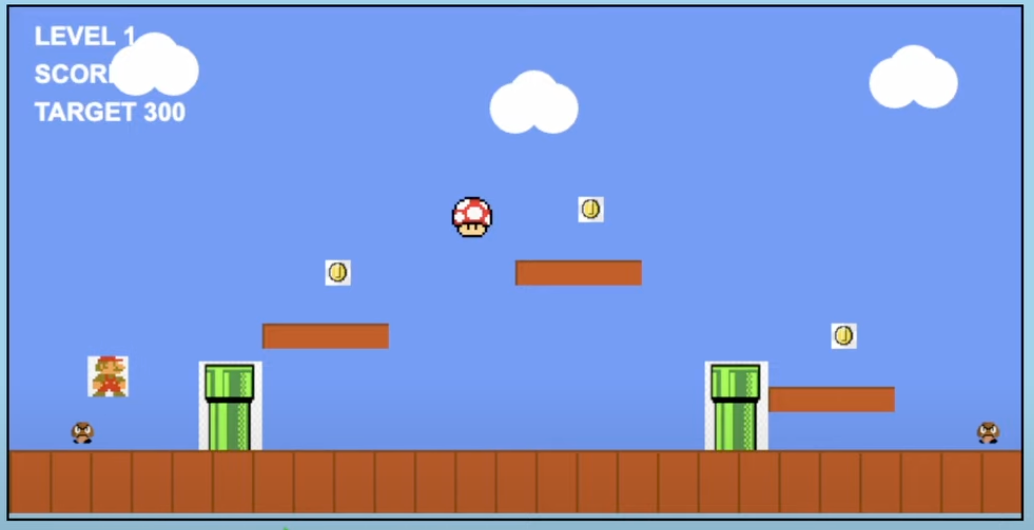
change the colour scheme of the game to match that of this screenshot
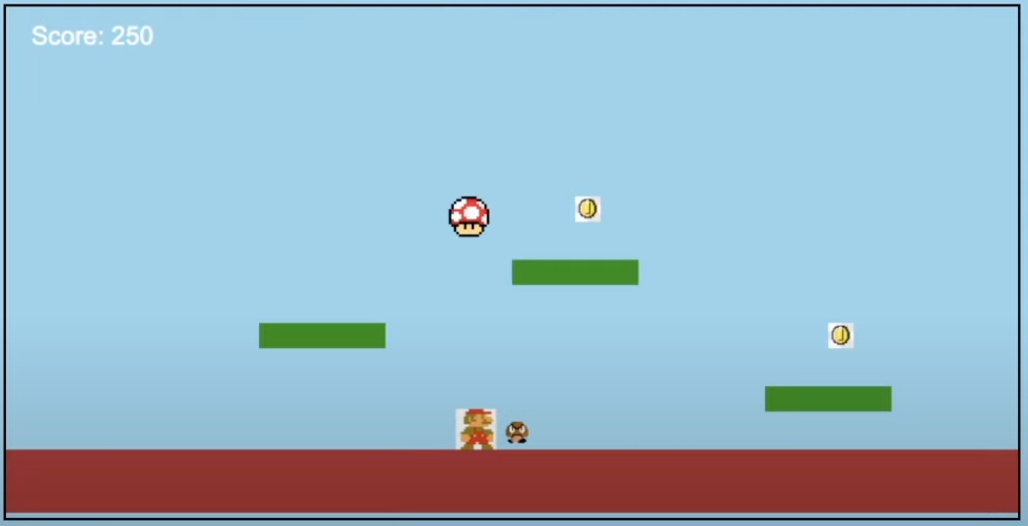
With that single prompt, it changed the UI to the one below:
There were also problems with the borders. The borders were too big compared to the browser. I wanted the game to fit the entire browser to make the most out of the screen real estate. I prompted,
reduce the border width so that the game occupies the full screen
That was it. It looked complete to me with the basic functionalities and a decent UI.
You may watch a video of the process here:
Hope that was useful!
I will see you in my next... Take Care!